Last Updated on July 19, 2021

Introduction
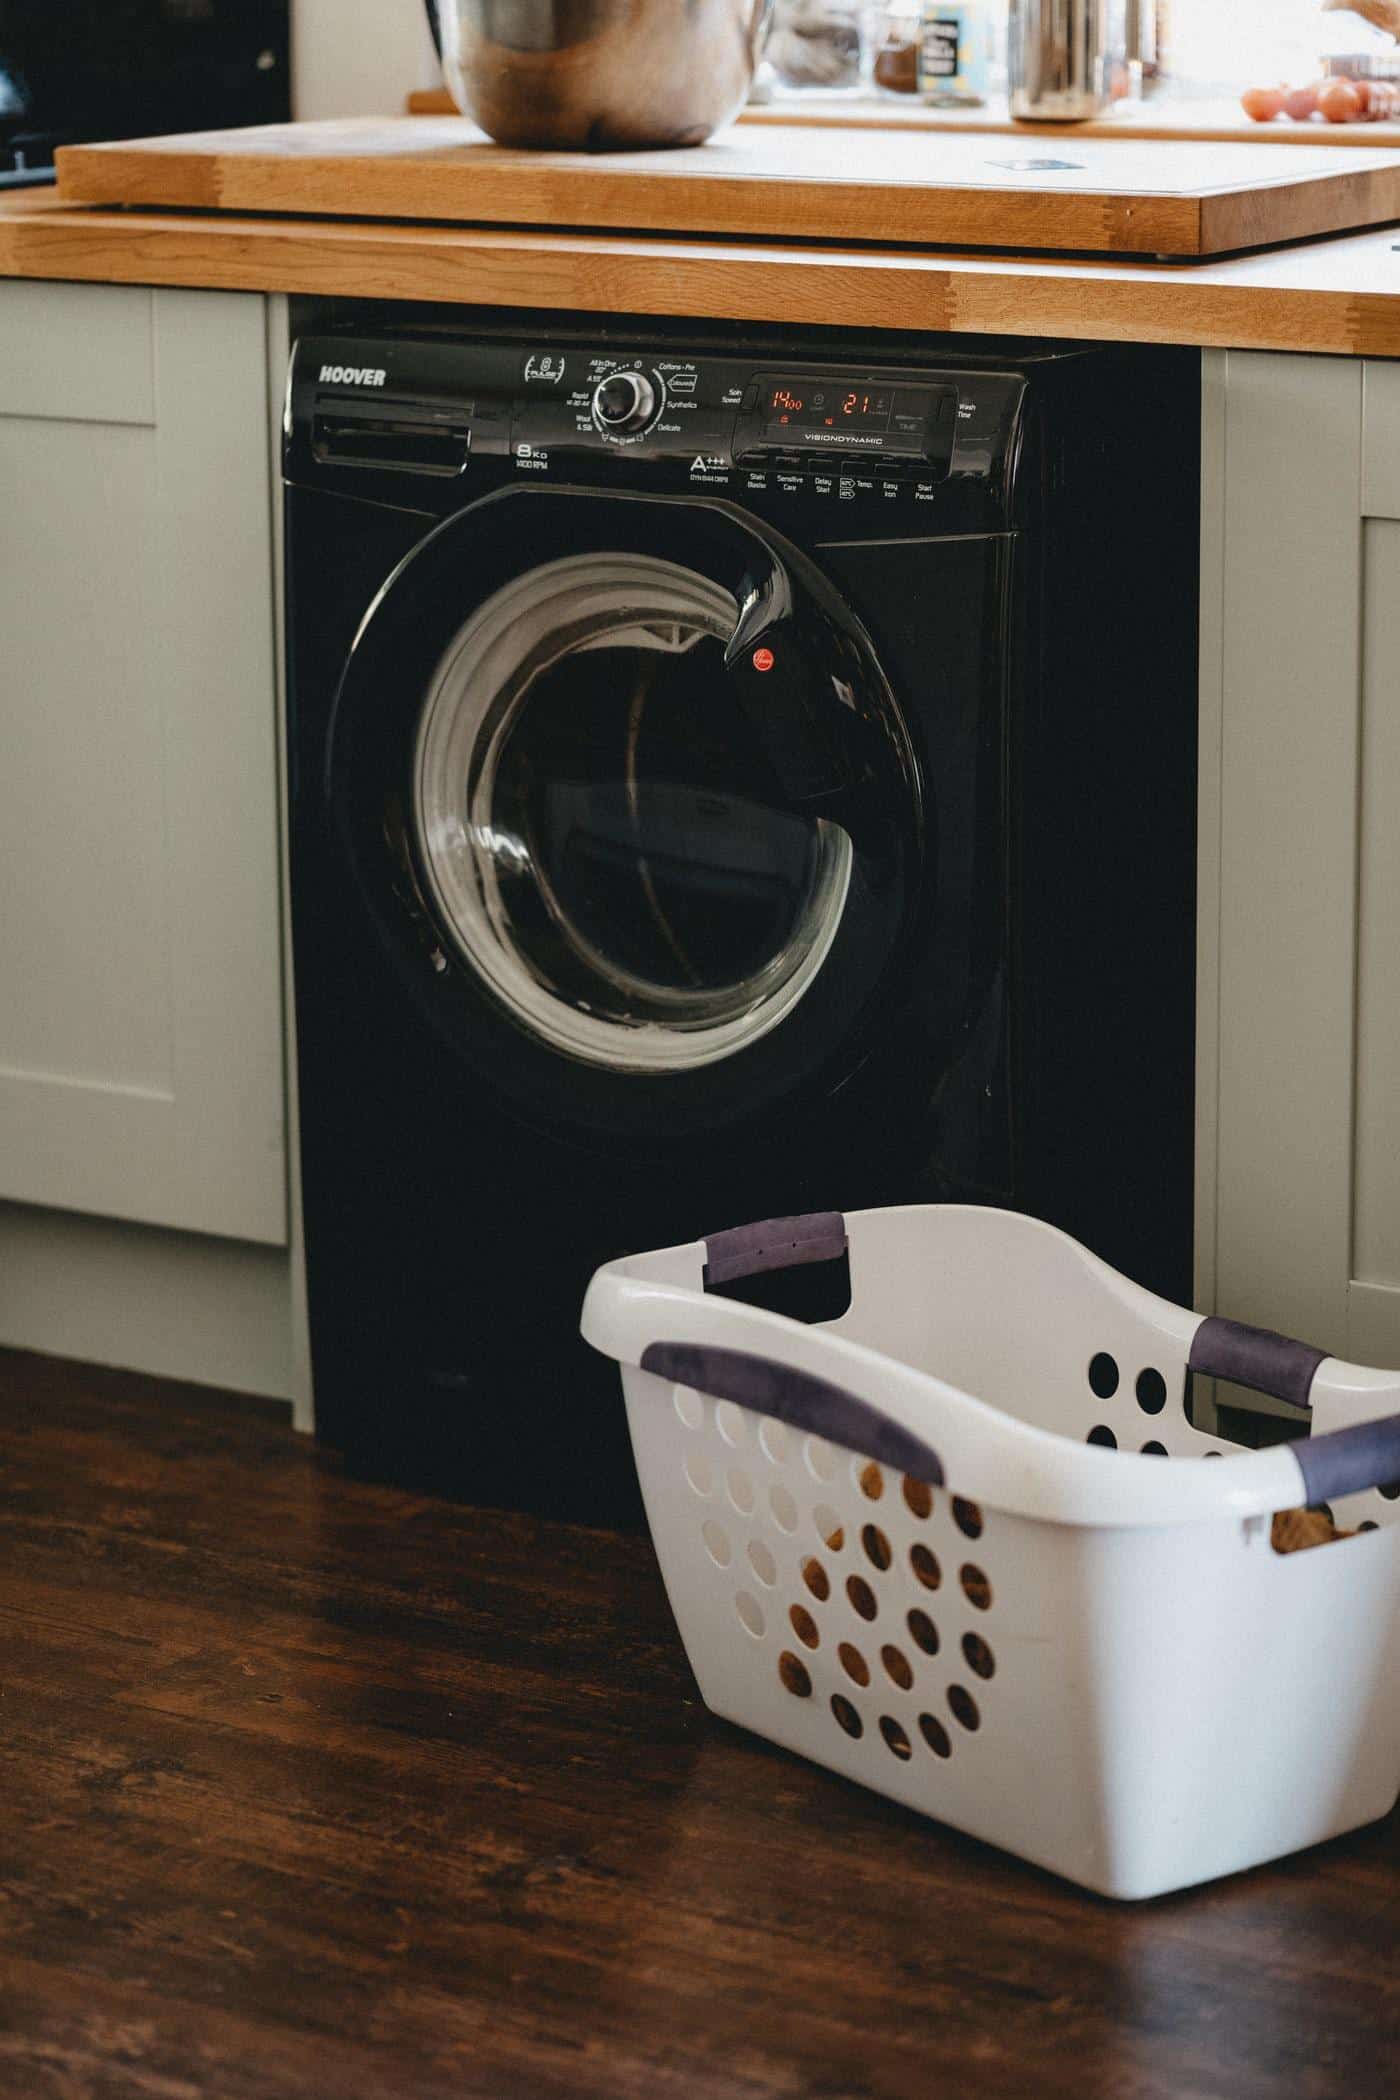
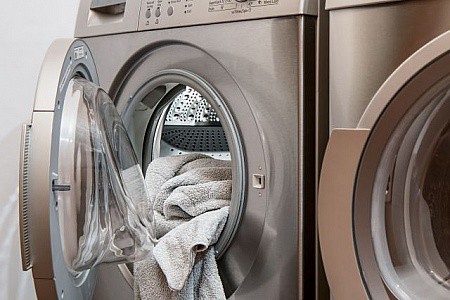
Washing Machines have become customary to twenty-first-century life and are certainly a necessity in today’s world. It has made radical transformations in modern households and has upgraded the ancestral method of scrubbing clothes. Hence, when problems arise in your washing machines it can come to be very troublesome to handle especially if the issue is about the drum of the appliance. Now, the drum is the place where all your clothes will be deposited and cleaned and if you have complications with it then it has got to be restored. For this reason, today we have outlined ways in which you can fix-up your washing machine drum. Note: Kindly ensure that before any restoration you remember to switch off and detach your machine from the mains to prevent any safety issues. Do not shift or tilt your appliance without any assistance. A major problem that the drums of your washing machine can develop is noise. This is common if your machine is unbalanced and uneven. This will cause the washing machine to shake vigorously during the cycle and formulate a commotion.
Step 1: Examine the Leveling of Your Machine
 You need to be certain that the surface on which your machine is standing on whether it is the subfloor or locking nuts is well proportioned. If your washing machine is kept on a subfloor or an underfloor that is unstable and weak, then that is perhaps the reason why the disturbance in the drum is caused. This is because the load of the drum becomes out of proportion and the machine starts to rock. In general, the reason a machine shakes is because of generic problems, such as that the machine is not sitting on a flat or even level floor. Accordingly, you need to assure that the machine is rightly adjusted. Just test whether it is positioned correctly or not by putting a spirit level on top of the machine to indicate its balance. Also, check out that you set the spirit level in all directions from left to right and front to back. After the inspection, you will recognize where the problem is. If the hurdle is in the subfloor then you must either strengthen your ply or select a ply that can hold the weight of the entire load which should be no less than three to a fourth of an inch wide. However, when it comes to the issue with the lock nuts, you will have to loosen and then adjust the level using a wrench. To confirm, you can use the spirit level to denote that the machine is balanced.
Step 2: Investigate If There Is Any Damage to the Internal Parts
1. Damage to the Bearings
If your washer is noisy or has a particularly odd grinding noise during a spin, there is a possibility that the tub bearing is worn out. Lack of lubrication frequently induces the tub bearing to wear out easily. An irregular noise or uneven spinning is an obvious sign that it is essential to replace the bearing. All washers, whether we’re talking about the front or top loaders, have two bearings that degrade when used. Water will eventually begin to see through the seals around the metal bearings and cause them to rust in the course of time. Therefore, to repair your bearings, you will have to follow certain instructions and measures. First and foremost make sure that your washing machine is completely detached and disconnected from any power and water source. Subsequently, a water spillage could occur in the process of disconnecting the sump from the drain pump, hence remember to put your old towels on the floor in advance to prevent slipping. Also, do not forget to inspect that the water is entirely drained from the appliance and the hoses. Furthermore, before you proceed to disassemble your machine contact your manufacturer for more instructions and advice. The washing machine needs to be assembled and connected to the water and power supply carefully after the defective parts have been removed. Alternatively, replacing bearings is an extremely complicated procedure therefore if you are unsure and doubtful then immediately approach an expert to do the job.
2. Damage to the Belt
The washing machine spins with the support of a belt that is driven by a motor. Which could get damaged due to wear and tear and rigorous use. Even one such defective component can affect the whole system to become off-balanced. The only way to identify whether your belt has deteriorated is when it starts to induce an odd and unusual noise from the motor, this should be a clear indication that your belt requires replacement. Don’t delay replacing the belt because if you fail to do so then your machine will ultimately stop spinning as soon as the belt ceases to function. If so, then you may experience smelling the rubber burning.
Step 3: Inspect Your Washing Machine in the External Regions
1. Shipping Bolts
Shipping bolts are external attachments added to secure the appliance during transportation and shipping. When the unit is in transit, these bolts hold the washing machine tub rigidly. They should be removed when the machine is assembled and ready for functioning. Please consult the manual on where the shipment bolts will be, especially if your machine is new. If you hear clattering noises that arise inside the unit then it is possible that you mistakenly missed a step or two when installing the washing machine. There’s a fair chance that the unit shakes vigorously because of these internal bolts that are still secured. And they have to be removed with a wrench.
Other Potential Problems
1. Overloading
 Now, the average spinning rate of the washing machine is approximately 600 to 1400 revolutions per minute, which is the number of spins the machine takes in about one minute. The users make the key and the most fundamental error when loading a washing machine is that it is filled to the brim, preventing any breathing room. Remember that the washing machine drums come in various sizes and this determines the capacity that the drum can hold. Hence, loading clothes disproportionately can result in the machine shaking excessively. Therefore, assure that you distribute the clothes evenly to avoid your machine from being unbalanced.
Conclusion
In conclusion, these were some indications and solutions for why you encounter problems with your washing machines. If you follow the 3 simple instructions and steps then you can say goodbye to those odd and rattling sounds.

It's knowing what you're doing and having a good basic foundation.
That's why my mission is to teach you the fundamentals of great cooking...
So you can start creating delicious dishes without any rules or restrictions whatsoever.
With my step-by-step instructions, my unique insider secrets and techniques,
You'll be able to easily take ordinary food and make it extraordinary!
- How to Prolong the Life of Your Kitchen Appliances - December 22, 2024
- How Long does Yogurt Take to Freeze - May 5, 2023
- Top 10 best restaurants in Montana - May 1, 2023