Last Updated on November 8, 2022
If you have a problem with your Miele freezer, you shouldn’t panic. This article provides some simple steps to help you fix it. You’ll learn how to find what’s wrong with your freezer and how to repair it.
Check if the ice maker is working correctly. It could be because of a clogged filter or a damaged motor. If the problem persists, contact the manufacturer for assistance.
What to do when your ice maker stops making ice?
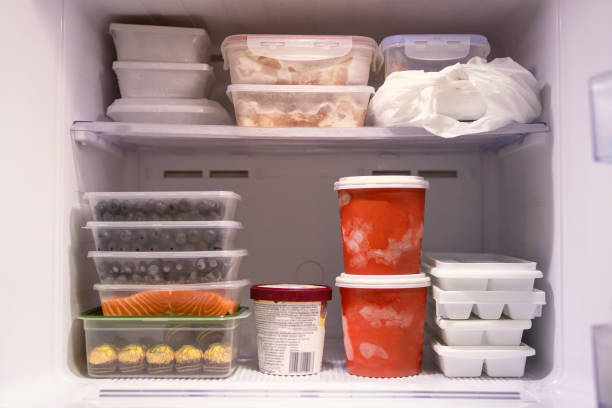
Having ice available anytime you want or need it is a convenience we all take for granted until you go for some from the freezer and there is none.
Ice makers fail. It’s an unavoidable consequence of owning a refrigerator with an ice maker.
On the plus side, ice makers are basic equipment that, for the most part, all work the same way. Furthermore, you may be able to diagnose and fix a defective ice maker before paying for an expensive service call.
Here’s how to troubleshoot some common ice maker issues.
When ice is not ejecting
If you detect ice within the ice mold, it implies your ice maker is getting water, and the issue isn’t with the water supply. It’s more than likely a mechanical or electrical issue.
Cause: It’s not unusual to accidentally bump the control arm into the off position when moving things about in the freezer, halting ice production.
This is a simple repair. Locate and move the metal control arm to the down or on position.
The fault is most likely with the motor, gearbox, or electrical connection if the control arm is in the on (down) position and the mold is full of ice.

Fix: Start by turning off the main breaker switch located near the fuse box. Remove the panel cover and locate the circuit breakers. Verify that they’re not tripped. Next, remove the fuses from each circuit and replace them with new ones. Finally, reattach the panel cover and test your fridge again.
If there is still ice left after removing the mold, add some water to the mold and let it stand for a few minutes. The ice will start melting and should be easier to scrape off.
After turning off the fridge, pull up the handle so the arm is lifted off. Then lower the arm down again; once the solenoids has engaged, hold it there for approximately 10 minutes until the water fills the molds.
Check again after three to four days for the ice to appear. If not, then either the impeller was damaged during shipping or the cooling system failed to operate properly.
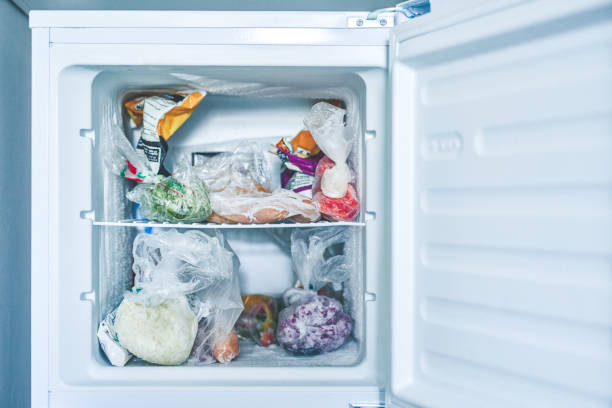
When it’s not making ice at all
Clogs can cause water to freeze unevenly. If your icemaker isn’t making any new snowflakes or small flakes instead of larger ones, it may indicate a clogged drain.
A common reason for a blockage is frozen water in your plumbing system.
The freezer should not freeze solid if ice forms around the edges of the door. You might also notice your food items sticking together. This is because moisture is trapped inside the container.
To prevent this from happening again, simply wipe down the exterior of the container with an alcohol-based cleaner such as Windex. The best thing about the Windex method is that you do not have to worry about any residue left behind after cleaning. Just make sure to thoroughly rinse the container before storing the food inside.
Turn off the refrigerator first then wait until the ice maker fills up the ice molds.
If your clogged pore isn’t clear, consult a plastic surgeon for help.
Water: The water line may be blocked by debris. Check the water filters for your refrigerator.
Fix: Replace the water filtration system. Most filters for ice machines are placed inside refrigerators. If yours isn’t, check where it’s usually installed.
When cubes are too big or small
Cause: If the icicles are too large or if there is no blockage and they’re still too tiny, then the ice maker probably just needs some minor adjustments.
Fix: To adjust the amount of liquid the icemaker is filled with each cycle by turning the dial on top of the unit, first take off the cover from the ice maker. It’s the white plastic piece on the frontmost side of the icemaker, and it should be easy enough to lift off using a flat-headed screwdriver. If you’re having trouble lifting it off, use a flat-headed screwdriver to gently pry it off the rest of the way.
Inside the bottle, you’ll see a screw and a plus/minus indicator. Turn the screw toward the minus sign to decrease the amount of liquid per serving and turn the screw toward the plus sign to increase the amount of liquid per serve.
Your Freezer Keeps Beeping? Here’s What It Means & What To Do
If your refrigerator or freezer keeps beeping at random intervals, there could be several things causing this issue. One thing to consider is whether there is something stuck inside. This could cause noise. Another possibility is that the compressor is running too long. If you notice that your fridge or freezer is making a lot of noise, check the manual to see how often the compressor needs to run. You may want to call a professional appliance technician to take a look at it.
Another common reason for beeps is that the door seals aren’t working properly. Sometimes, food particles can build up around the seal, preventing it from sealing correctly. You may want to try cleaning the area yourself. However, if you notice that the beep pattern changes, contact a professional immediately.
Finally, another potential cause for beeps is that something is jammed inside. Again, this can happen due to food buildup. If this happens, you’ll likely hear high pitched sounds coming from the unit. In addition, there may be some rattling noises occurring.
You’ve bought a new Miele freezer, but it won’t freeze anything.
What should you do?
Miele is a German company known for its high quality appliances.
They also offer a free repair service for their products.
If you don’t want to pay for repairs, you can contact them directly.
Here’s how to fix your Miele freezer
Miele Freezer Not Freezing – Quick Fix
If you have a miele freezer and it doesn’t seem to freeze properly, check if the ice maker is working correctly. It could be because of a clogged filter or a damaged motor. If the problem persists, contact the manufacturer for assistance.
1. Door Seal
Check whether the door seal is leaking air. This can happen if the seal is not tightly attached to the frame. 2. Ice Maker Answer: Check the ice maker for any damage. 3. Compressor Motor Answer: Check the compressor motor for any damage. 4. Filter
2. Air Circulation
Check the filter for any blockage. 5. Water Leakage Answer: Check the drain hose for any leakage. 6. Drain Line Answer: Check the drainage line for any leak. 7. Drain Valve
3. Freezer Temperature
Check the freezer temperature gauge for accuracy. 8. Refrigerator Door Seal Answer: Make sure the refrigerator door seal is not damaged. 9. Ice Maker Answer: Check the ice maker for any problems. 10. Ice Tray
4. Freezer Content
Make sure the freezer content is not damaged. 5. Fridge Door Seal Answer: Check the fridge door seal for damage. 6. Fridge Light Bulb 7. Fridge Compressor
5. Temperature Control Thermostat
8. Refrigerator Door Handle 9. Refrigerator Door Glass 10. Refrigerator Door Lock
6. Condenser Coils
5. Temperature Control Thermostats Thermostats are used to regulate the temperature of heating systems such as furnaces, air conditioners, and hot water heaters. A thermostat consists of two parts: a sensing element and a switching mechanism. The sensing element senses the temperature and sends a signal to the switching mechanism. The switching mechanism activates the system’s heating elements based on the sensed temperature. A thermostat usually contains a bimetallic strip, which changes shape depending on the temperature. As the temperature rises, the bimetallic strip bends toward the switch contacts, closing the circuit and turning on the heating elements. As the temperature drops, the bimetallic strips straightens, opening the circuit and stopping the flow of current to the heating elements.
7. Start Relay
Start relays are used to start motors when power is applied to the motor. This is done by using a magnetic field created by a coil of wire wound around a ferrous core. When power is applied to the coil, the magnetic field creates a voltage across the terminals of the relay coil. This voltage opens the contact points between the coil and the armature the part of the relay that moves. Once the contact points open, the armature is free to move and turn the motor shaft. 8. Contactors 9. Motor Controllers
8. Evaporator Fan Motor
A fan motor controller is a circuit board that controls the operation of a fan motor. It consists of a microcontroller, a driver circuit, and a set of contacts. The microcontroller receives signals from the thermostat and sends commands to the driver circuit. The driver circuit converts these signals into pulses that activate the contacts. These contacts connect the coils of the fan motor to the positive and negative sides of the supply voltage. The fan motor turns because the coils are connected to the supply voltage. 10. Thermostat 11. Temperature Sensor
9. Condenser Fan Motor
Fan motors are used to cool electronic devices such as computers, televisions, and other appliances. A fan motor is powered by electricity and uses a fan blade to move air around a device. The blades push air across the surface of the device, cooling it. 12. Thermostat 13. Temperature Sensor
10. Evaporator Coils
Condensers are used to remove moisture from air. Air conditioners use condensers to remove moisture from the air. In a refrigerator, the evaporator coils are used to remove moisture form the refrigerant. 14. Thermistor 15. Humidity Sensor
Other Parts to Check
1 Check the wiring connections. Make sure that the wires are connected properly. 2 Check the fuse box. 3 Check the thermostat. 4 Check the fan motor. 5 Check the filter. 6 Check the drain pan. 7 Check the drain hose. 8 Check the compressor. 9 Check the power cord. 10 Check the venting system. 11 Check the ducts. 12 Check the door seals. 13 Check the door hinges. 14 Check the door latch. 15 Check the light switch. 16 Check the electrical outlet. 17 Check the floor drains. 18 Check the exhaust fans. 19 Check the blower motors. 20 Check the filters. 21 Check the furnace. 22 Check the heating elements. 23 Check the vents. 24 Check the registers. 25 Check the windows. 26 Check the doors. 27 Check the insulation. 28 Check the roof. 29 Check the chimney. 30 Check the attic. 31 Check the walls. 32 Check the foundation. 33 Check the plumbing.
How cold should a Miele freezer be?
Freezers are designed to maintain items frozen until you decide to thaw them. This is done by maintaining the temperature below 0 degrees Celsius 32 degrees Fahrenheit. Freezer temperatures vary from model to model but generally range between -18°C -0.4°F and -20°C -4°F. Most freezers are set to maintain the temperature at -18°C -1.8°F, however, if you notice any condensation forming on the walls of your freezer, you may need to adjust the setting to -2°C -3.6°F. It is important to note that the colder the freezer, the longer it takes to freeze items. Items that take longer to freeze will not reach the same level of quality as items that were frozen quickly.
How do I reset my Miele freezer?
If you have a Miele refrigerator, you can reset the freezer by pressing the button labeled “F” on the front panel. This will open the door and allow you to remove the ice tray from the freezer. Remove the ice tray and place it back into the freezer. Press the button again to close the door.
Is my freezer set too cold?
Miele freezers are designed to maintain temperatures within a certain range. This range is called the “freezer zone”. It is important to know what the freezer zone is because if you set the freezer too low, the ice cream will melt and spoil. On the other hand, if you set the freezer to too high, the ice cream will freeze solid and become hard. To ensure that the freezer stays within the proper temperature range, the freezer needs to be maintained at 0°F 32°C.

It's knowing what you're doing and having a good basic foundation.
That's why my mission is to teach you the fundamentals of great cooking...
So you can start creating delicious dishes without any rules or restrictions whatsoever.
With my step-by-step instructions, my unique insider secrets and techniques,
You'll be able to easily take ordinary food and make it extraordinary!
- How to Prolong the Life of Your Kitchen Appliances - December 22, 2024
- How Long does Yogurt Take to Freeze - May 5, 2023
- Top 10 best restaurants in Montana - May 1, 2023